Hi
A Big thank you to everyone who joined in last month's challenge. Amazing Creativity!
This month's challenge is Christmas and can be interpreted any way you like, as long as it has rubber stamping in it.
To join in with this
challenge (we are limiting the challenge entries to 3 per person), is simple;
all we would like you to do is, make a piece of artwork, making sure
that you include the theme and some rubber stamping. Pop
back here to link up using the Inklinkz at the bottom of this post, so
that we can see what you've made and then, leave us a comment to let us
know you have joined in with the challenge.
As always, there will be
candy for one randomly picked entrant - the winner will receive a stamp of their choice from The Artistic Stamper .
In addition, you can enter the same challenge on Facebook!
To join us on just go to our new Facebook group, and send us a request to join..
There will be a prize for the Facebook challenge, as well as the blog challenge!
And
don't forget....if you use The Artistic Stamper stamps on your entry, you
will entered into the draw, twice!
To get you started here are creations from some of the team....and please give a big shout out to our two new team members, Lisa and Jane!
Soooooo.....it's
the Christmas countdown, so that means doing the two things that I
love, making cards, and drinking!!... (sometimes doing both at the same
time!!) !!
For
my first team card I started with a piece of sheet music...We Three
Kings Of Orient Are...which is apt because I have used three of the
crowns from the Crowning Glory stamp set to depict the three wise men, I have also used the Swirl Mask and the sentiment is from the Christmas Greetings #2 set.
For more info on how I did this card, it would be great if you visited my blog.
My first project for The Artistic Stamper comes during my favourite season, Winter. And with Winter comes Christmas.
For a more detailed look at my creation please pop over to my blog.
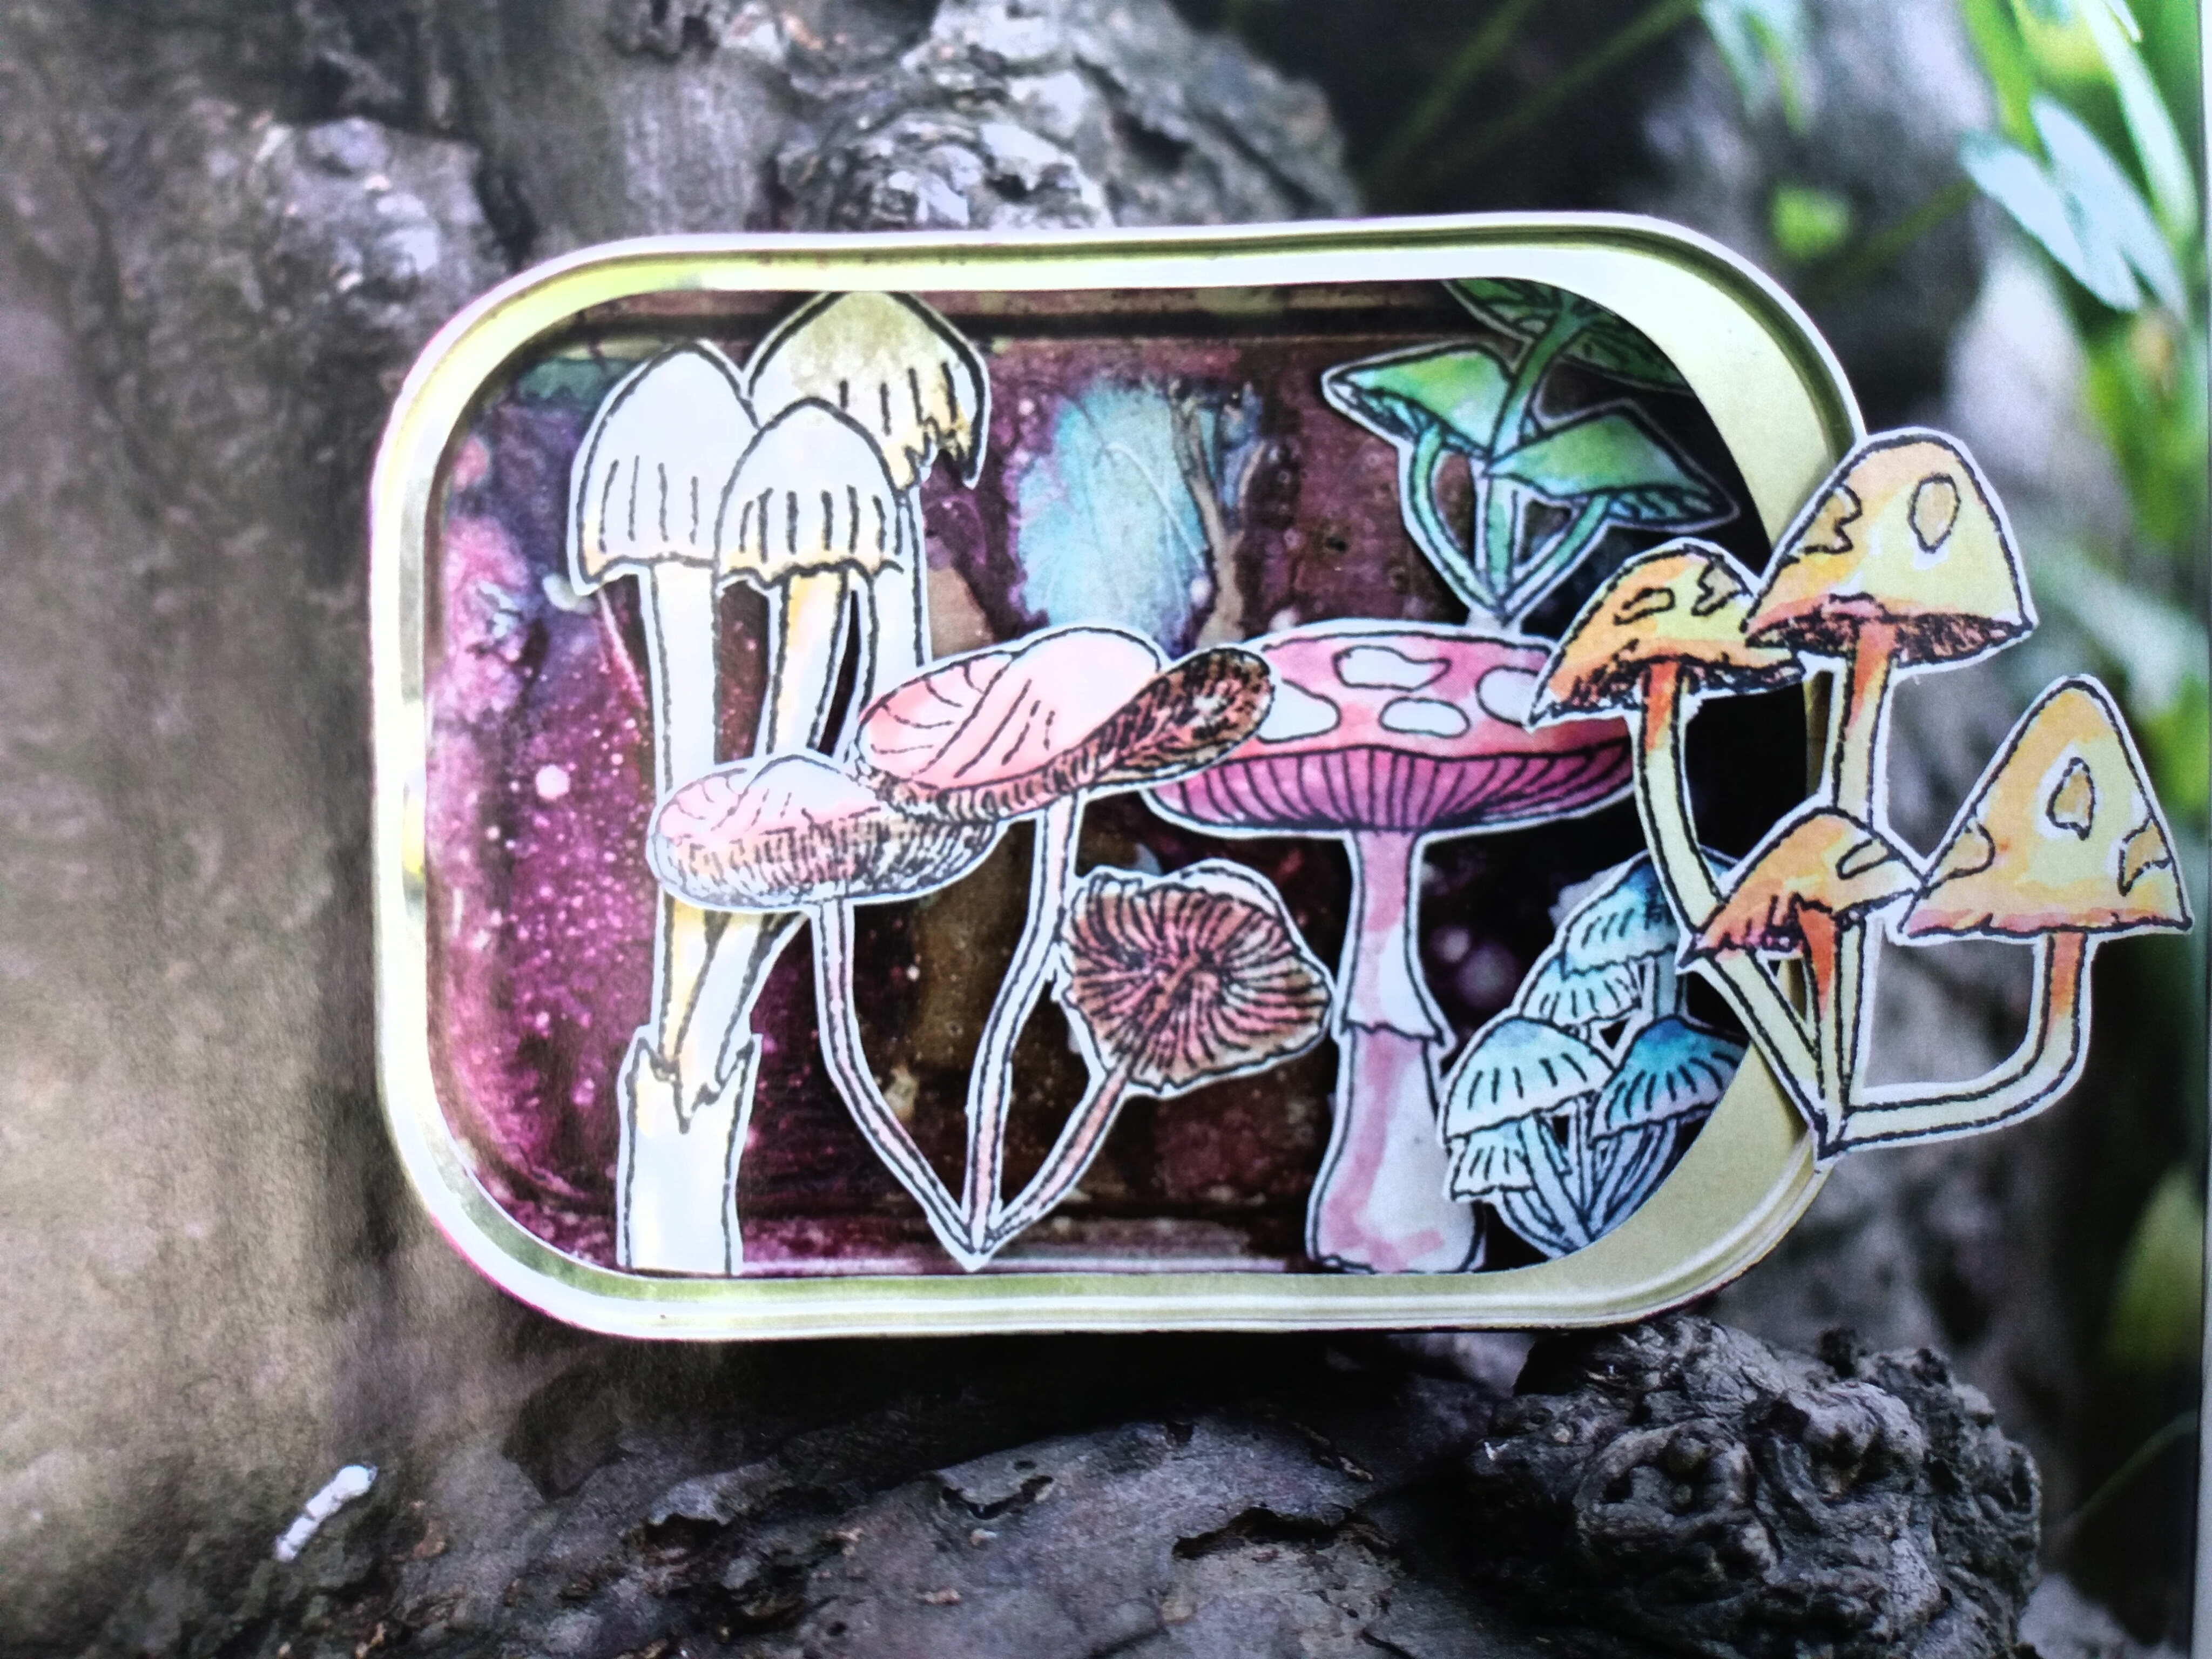
I
tend to go fairly nontraditional with my Christmas decorations so when I
came across a polystyrene heart in my stash I knew I was looking at my
new tree decoration. I decorated the heart with acrylic paint and
background stamps
from The Artistic Stamper. You can pop over to my blog for more
information if you like and I hope me and my teammates have inspired you
to join in this months challenge.
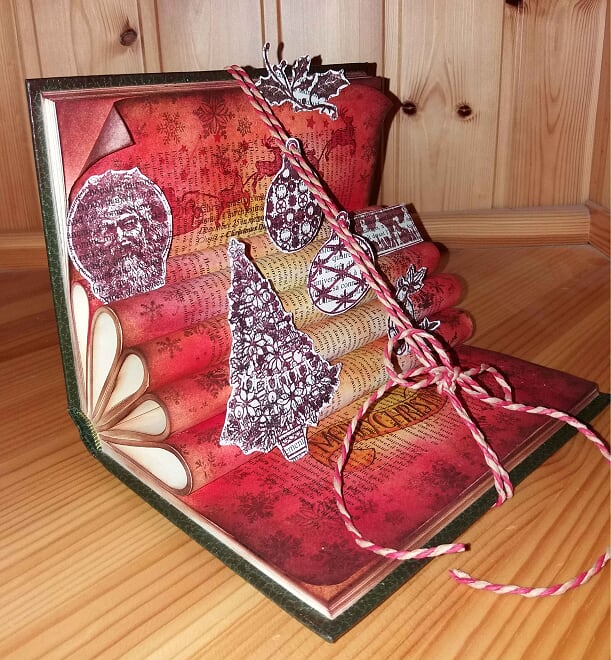
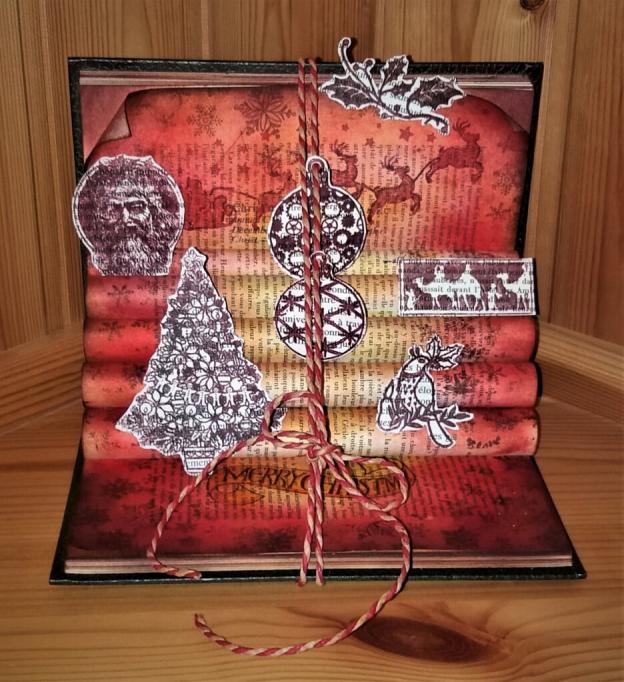
Here is another way to use the vintage vinyl notebook you already saw
make it a Christmas present :
To make this notebook, you will use :
- 2 LPs
- 4 A4 pages you will fold in 4 and cut
- another page to stamp the image
We hope
that you will join in this month's challenge, and also join us on Facebook too.
We look forward to seeing
your creations. Don't forget to add a comment when you have posted your
entry.
Have a very creative and festive month
Jennie xx